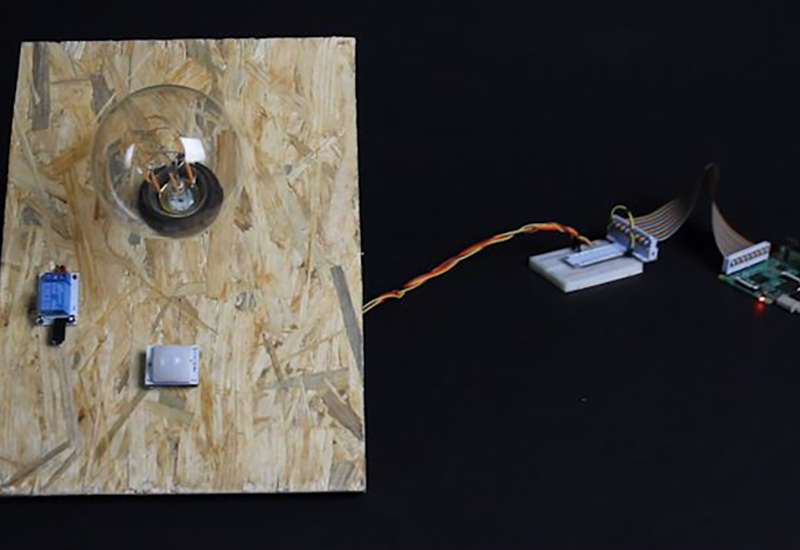
A Raspberry Pi is useful in all kinds of ways, even if you are looking to make a project that can help people increase the quality of their lives. The Raspberry Pi color checker project is meant for people who are colourblind or have trouble seeing. Using your raspberry pi and a colour sensor, we can make a cool gadget that determines the precise main colour of an object. It can even say what colour it is detecting by using a Text-To-Speech module.
How does the Raspberry Pi color checker work?
The Raspberry Pi color checker project uses a colour sensor to determine the main colour of an object. The Hue colour parameter (a number that represents the “pure colour tint”) is calculated based on the RGB-values that are read from the sensor. From the Hue parameter, it is possible to determine which basic colour is presented to the sensor. If the button (connected to GPIO pin 20) is pressed, the corresponding colour is printed on the terminal and can be heard using the on-board audio (using a Text-To-Speech program). Optionally, you can also attach an OLED screen and all of the regular RGB and HSV colour parameters will be displayed, together with the determined colour.
Level of difficulty: intermediate
Materials
Ingredients:
- Raspberry Pi 3B/B+ or 4B set (e.g. Whadda PI4SET)
- Raspberry Pi (3B/B+ or 4B)
- good quality USB power supply
- >= 8 GB MicroSD Card
- basic electronics parts e.g. RPi DIY Kit or RPi electronics parts pack
- breadboard
- pushbutton
- jumper cables (Female to Female & Male to Female)
- optional: a RPi GPIO extension board
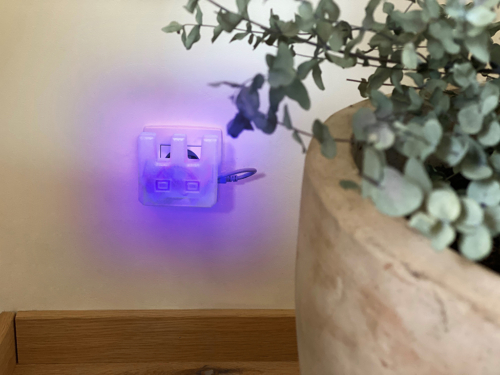
- COLOR SENSOR TCS3200 MODULE
- optional: 0.96″ OLED SCREEN WITH I2C FOR ARDUINO


Tools:
- Working locally on Raspberry Pi:
- HDMI screen/monitor
- USB keyboard
- USB mouse
- internet connection (WiFi or wired ethernet)
- Working remotely on pc:
- PC
- RPi & PC connected to the same network (WiFi or wired ethernet)
Programming the development board
Dev board: Raspberry Pi (3B/B+, 4B)
Code language: Python (3)
Preparations
- If you don’t have a (recent) version of Raspberry Pi OS installed on the Pi’s microSD card, go to raspberrypi.org/downloads and download the latest version of the Raspberry Pi Imager. Use the Raspberry Pi Imager to flash the MicroSD card with the latest version of Raspberry Pi OS.
From this point on there are 2 ways to configure the pi: on the pi itself by connecting the necessary peripherals (mouse, keyboard, and screen) to it directly, or using your pc to connect to it remotely. If you plan to use the 1st option you can skip step 2 and proceed directly to step 3.
- If you want to use WiFi follow this guide to configure the WiFi access details before you proceed. Navigate to the SD Card partition named
BOOTand add an empty file calledssh. Make sure that this file doesn’t have a file extension. In Windows, you might need to check theFile name extensionsbox in the View tab in file explorer to be able to do this. - Insert the MicroSD card into the Pi and connect all of your peripherals (if you’re planning to use a separate monitor). Also, plug in a network cable if you’re planning to use a wired ethernet connection. Power up the pi by connecting it to the USB power supply adapter.
- Wait 2-3 min until the pi is fully booted. If you’re using a separate monitor, run through the initial Raspberry Pi OS setup wizard to configure network connections, etc… If you’re connecting to the pi remotely, go to your network router setup webpage or use an IP-scanner (e.g. Angry IP Scanner) to find the assigned IP-address of your pi and connect to it by opening Powershell/Terminal and type in the following command:
ssh pi@<REPLACE WITH IP ADDRESS>. The default password israspberry. - To make sure your pi is fully up-to-date, run the following command:
sudo apt update && sudo apt upgrade -y - Enable the I2C interface (necessary to use the OLED display) by running
sudo raspi-configand selecting3 Interface Options > P5 I2C > Yes.
Installing the necessary software
Run the following commands:
- Make sure the python package manager (pip) is installed: sudo apt install python3-pip
- Install git client so we can easily download the project code sudo apt install git
- Download the project code on git clone https://github.com/WhaddaMakers/Whadda_you_see_RPi.
git && cd ./Whadda_you_see_RPi
- Install the Text-To-Speech module using our install script: sudo chmod +x install_tts.sh && sudo ./install_tts.sh
- Install the required python modules: pip3 install -r requirements.txt
- If you are using headphones via the 3.5 mm audio jack, use the raspi-config tool to select the forced headphones audio output
sudo raspi-config 1 System options > S2 Audio > 1 Headphones
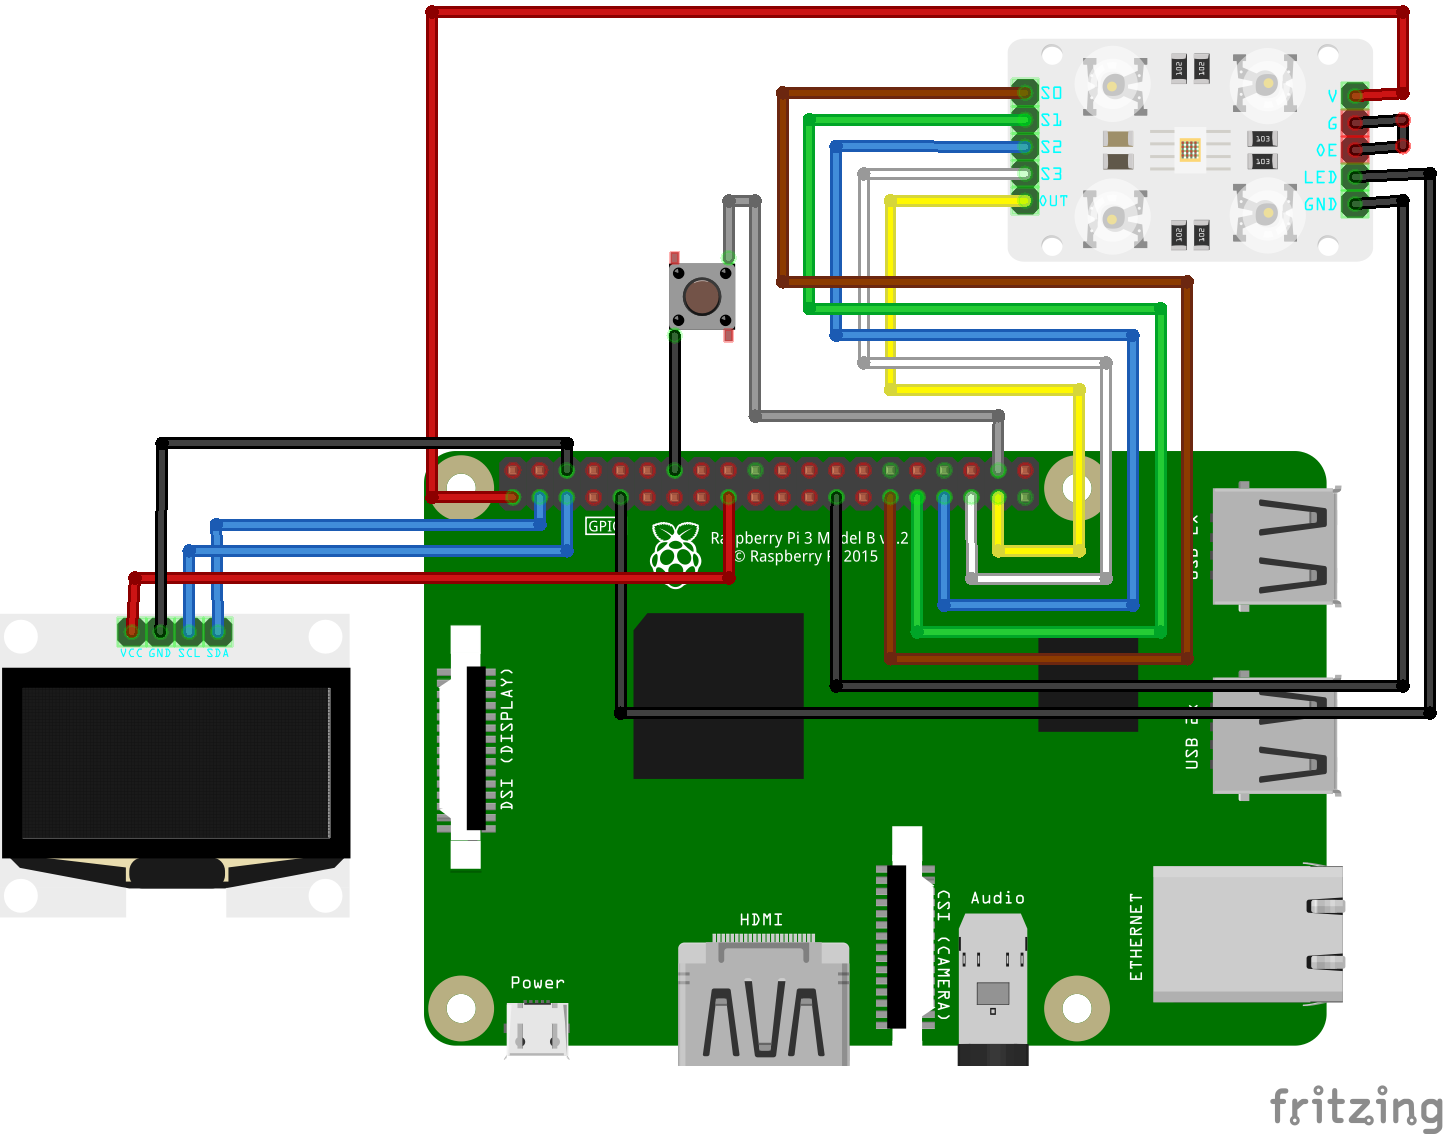
The connection
It is possible to wire everything up without a breadboard using Male-to-Female jumper wires, although using a breadboard and a Raspberry Pi GPIO extension/breakout board will make the process a lot easier.
Connection Tables
| TCS3200 Color sensor | Raspberry Pi |
|---|---|
| V | 3V3 |
| G | GND |
| OE | GND |
| LED | GND |
| GND | GND |
| S0 | GPIO 5 |
| S1 | GPIO 6 |
| S2 | GPIO 13 |
| S3 | GPIO 19 |
| OUT | GPIO 26 |
| 0.96″ OLED | Raspberry Pi |
|---|---|
| VCC | 3V3 |
| GND | GND |
| SCL | SCL1 |
| SDA | SDA1 |
| Button | Raspberry Pi |
|---|---|
| Top right pin | GPIO 20 |
| Bottom left pin | GND |
Connection diagram

Run the program!
Now it’s finally time to test the setup!
If you have an OLED screen installed, you can run the program by entering this command:
python3 whadda_you_see.py --OLEDIf you don’t have an OLED screen wired up, use this command:
python3 whadda_you_see.pyIf you don’t want to add the python3 to the command every time to run it, you can make the program executable without it by running the following command:
sudo chmod +x whadda_you_see.pyYou can now run the program by using these commands:
./whadda_you_see.py OR ./whadda_you_see.py –OLED
Extending or altering the code
If you want to add and/or change colours you can add additional elif statements after the line color_str = "RED":
elif hue_deg > 340 and hue_deg < 356:
        color_str = "RED"
## ADD YOUR OWN COLOUR COMPARE FUNCTIONS HERE ##
# example:
elif hue_deg > 160 and hue_deg < 210:
  color_str = "CYAN/TEAL"
################################################
else:
  color_str = "No valid color detected"
Change the numbers in the elif statement to alter the hue boundaries for which a certain colour name will be set. If you want to get a bit of a “feel” for hue parameters you can use an HSV colour picker and alter the Hue parameter to see what the corresponding colours are.