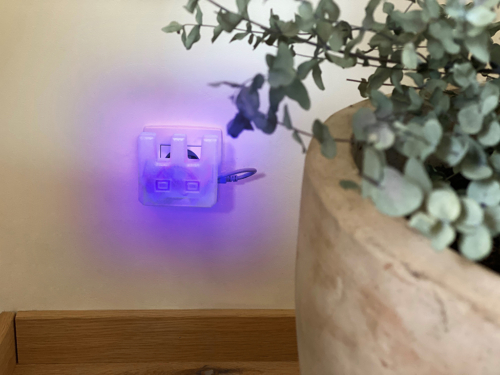
This is the ideal Raspberry Pi Intruder alarm & e-mail notification project to scare off burglars or to find out whether your parents went snooping in your room! This tutorial will explain how to control a 5V relay with a PIR motion sensor to turn on a light bulb when movement is detected, you will also get an email notification! The light is being fed with 12VDC. The relay can take currents up to 250VAC and 30VDC if you want to automate your home with a Raspberry Pi!
If this is the first time that you use a Raspberry Pi, then please follow this tutorial to set up your Pi first!
Level: medium
1. MATERIAL YOU NEED for the Raspberry Pi Intruder alarm & e-mail notification
Ingredients:
- Raspbery Pi 3 model B+
- PIR motion sensor
- 5V relay module
- breadboard
- t-Shaped GPIO expansion board (not necessary)
- jumper wires
- light bulb
- 230VAC supply
Tools:
- flat screwdriver
2. ANALYSING THE PIR MOTION SENSOR
Technical info:
- voltage: 5VDC
- adjustments: time delay & sensitivity
- maximum trigger distance: 7m
- angle: 120º detection
- dimensions: 32 x 24 x 25mm
Trimmers:
RP1 = adjustment for delay in time
RP2 = sensitivity adjustment

3. ANALYSING THE RELAY
Technical info:
- voltage: 5VDC
- relay current rating: 10A @ 250VAC & 10A @ 30VDC
- contacts: C (Closed), NO (Normal Open), NC (Normal Closed)
- connections: GND, 5VDC, signal
- dimensions: 40 x 27 x 18 mm

In theory:
A relay is an electromagnetic switch operated by a relatively small electric current that can turn on or off a much larger electric current.
Why? Because many sensors operate on small electric currents. But often we need them to drive bigger components (like light bulbs) that use bigger currents. Relays bridge the gap, making it possible for small currents to activate larger ones.
(Source: https://www.explainthatstuff.com/howrelayswork.html)
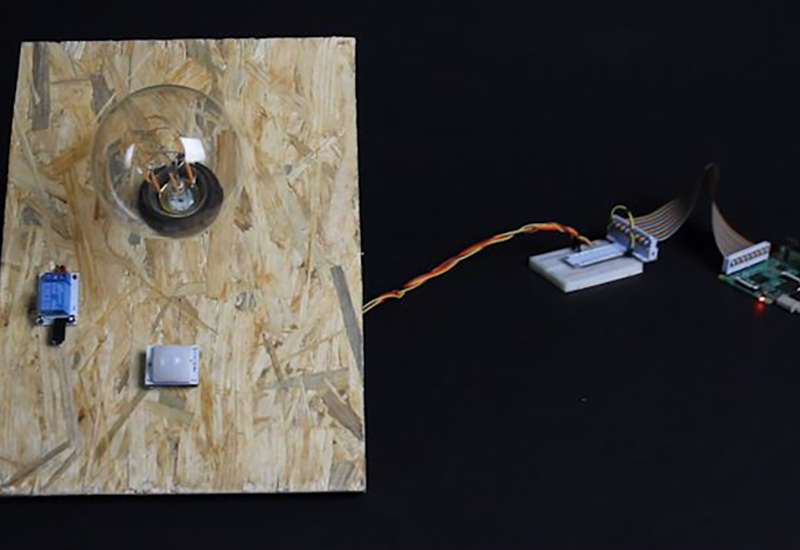
4. WIRING THE CONNECTIONS
The diagram below shows the connections from the Raspberry Pi to the different components.
To make things easier, we’ve added a connection index. This will help you to quickly connect the wires to the exact pins.

5. SOFTWARE: PROGRAMMING THE RASPBERRY PI
Startup your Pi, Open the terminal by pressing CTRL+T, and follow the steps below
To download the code from github, enter: wget https://raw.githubusercontent.com/Velleman/Tutorials/master/Intruder_Alarm_With_PIR/intruder_alarm.py
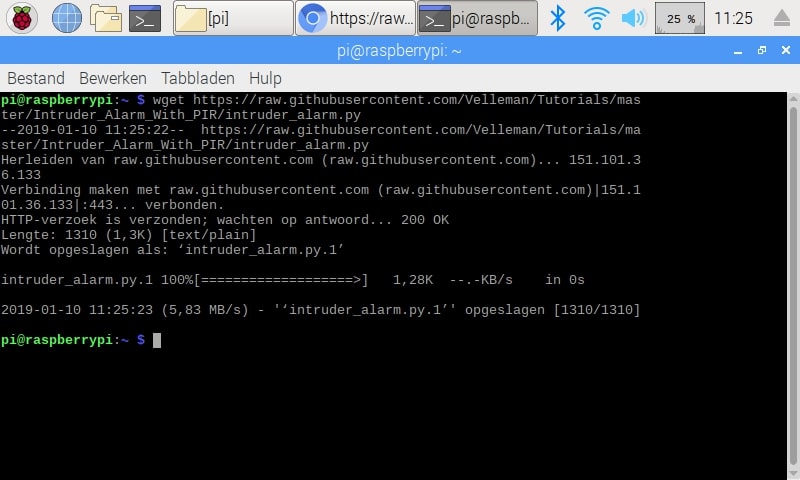
(It’s best to copy and paste this line into your terminal to make as few mistakes as possible)
6. SETTING UP THE EMAIL CONNECTION
Now we have to set up the parameters for the email connection.
In the terminal enter: sudo nano intruder_alarm.py
Now go to the part of the code as shown in the picture below and change the following lines.
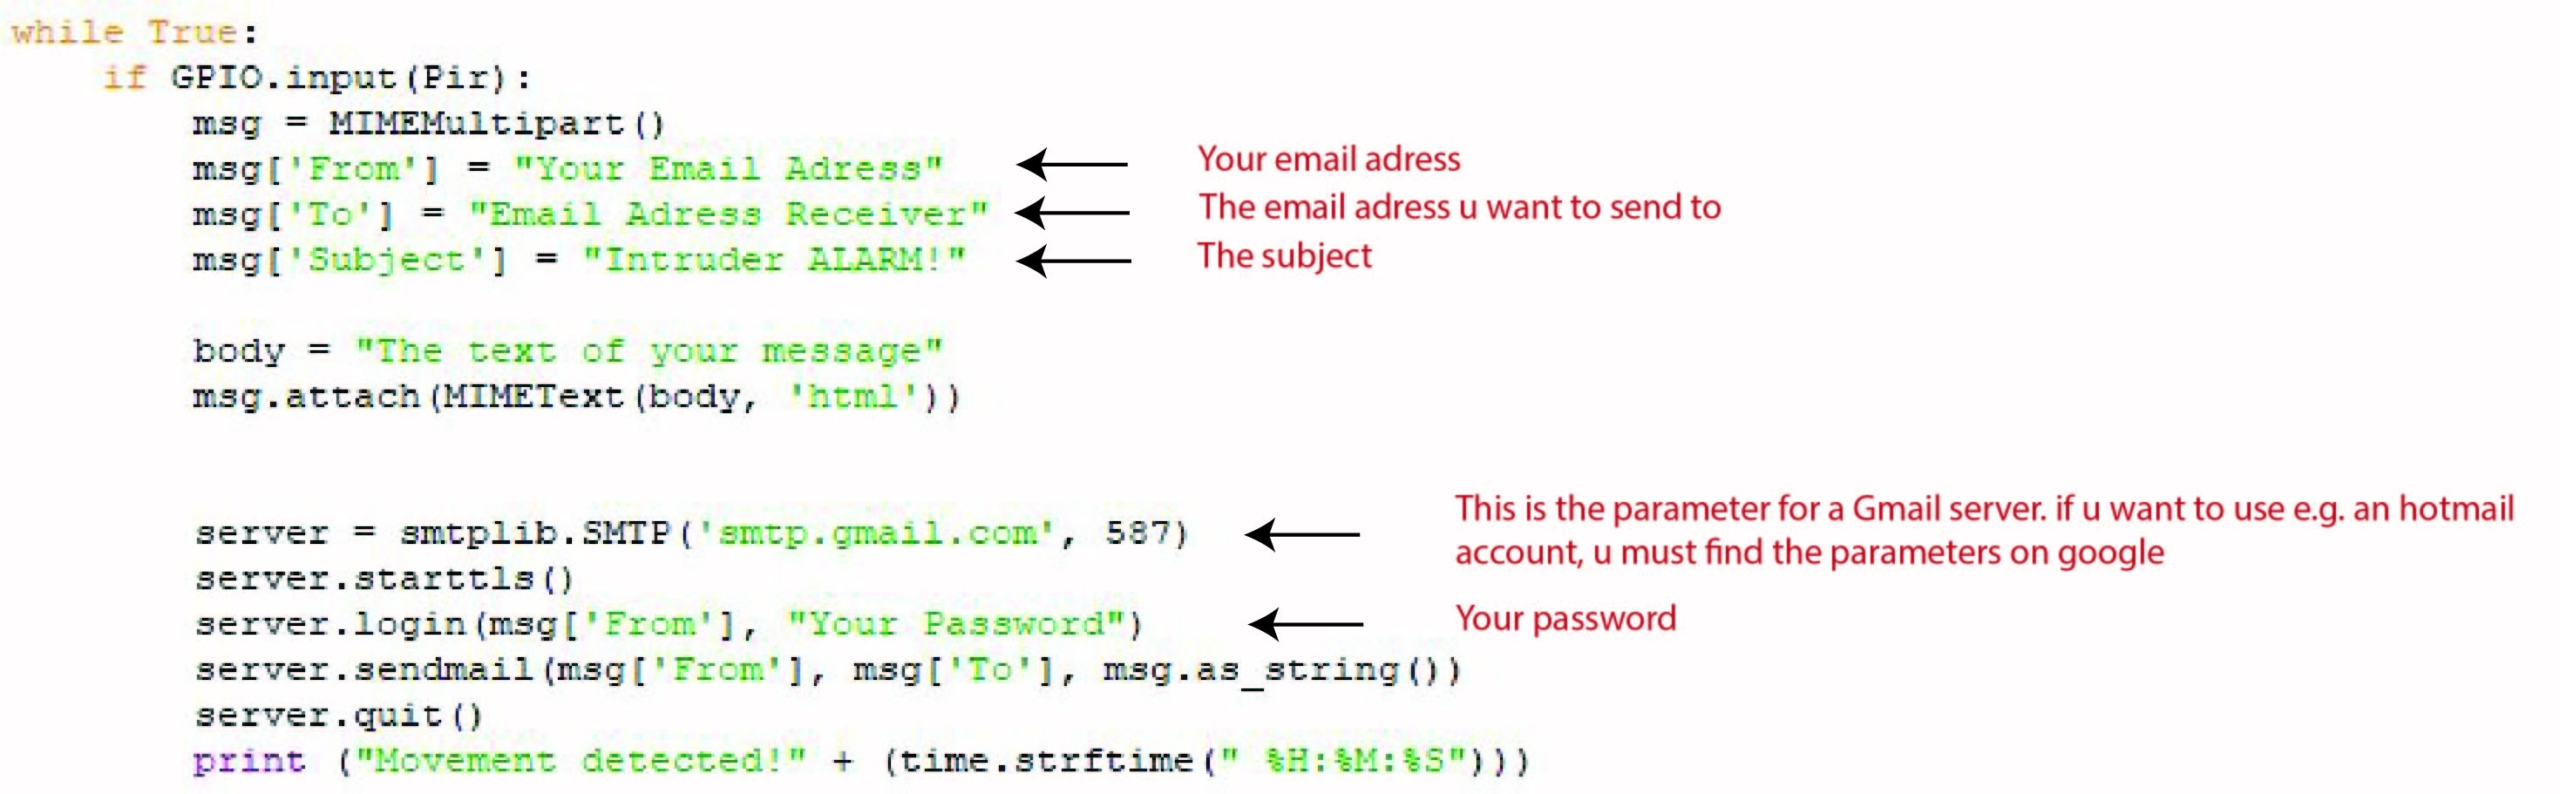
Then save with CTRL+ O and exit with CTRL+ X If you successfully changed the parameters, it’s time to run the code!
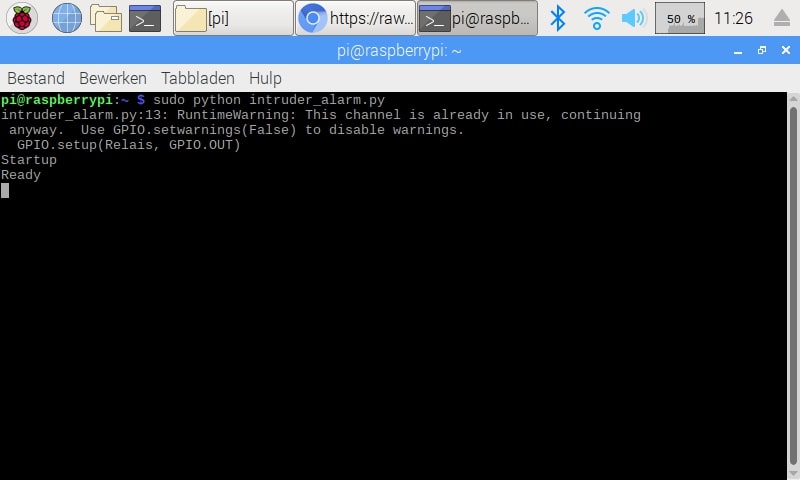
Open the terminal again and enter: sudo python intruder_alarm.py
The terminal will show when the program is up and running.
Now every time the PIR sensor is triggered, an email will be sent to the address you specified.
That should be everything. Hope you found it useful and enjoyed the tutorial!