In this guide, we will be explaining each step on how to solder basic SMD components in an easy and fun way. SMD means ‘surface mounted device’ and as the name suggests, these components are soldered on the surface of the PCB. They are also the smaller versions of through-hole components.
Note: these tips are meant for those of you who want to start soldering basic SMD components such as LEDs, resistors, transistors, and capacitors. Before starting, please note that it is necessary to have a lot of experience with through-hole soldering kits first. (A new beginner’s guide to soldering through-hole components is coming soon!)
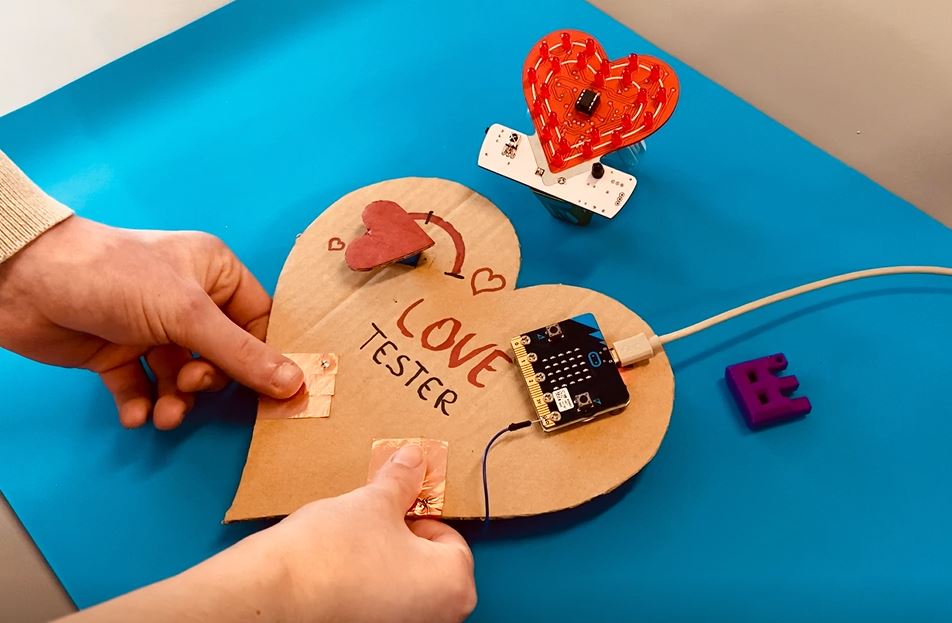
We’re going to be making the SMD FLASHING HEART (MK144) because it is a fairly easy minikit to start with. Then again, all of the steps may relate to any other beginner SMD kit.
SMD SOLDERING EQUIPMENT
- soldering iron with a fine tip and a brass sponge
- thin solder is your friend, pref. 0.4 – 0.6mm
- SMD tweezers
- desoldering braid to the rescue!
- desk lamp
- magnifying glass
- SMD storage box for the pro’s
SMD SOLDERING LOCATION
For those of you who don’t have their own maker space (yet); find yourself a quiet room with good lighting and avoid places with drafts or lots of movement from others. You’ll thank us later.
Make sure that your desk is stable and place all your equipment in any way that is efficient for you.

Open your minikit package and make sure to carefully collect all the SMD components into the compartments of the SMD storage box. But don’t panic if you’ve already lost an SMD component, we’ve added an extra one of each. You’re welcome.
SMD SOLDERING STEPS
Step 1: Prepping your soldering iron
Prepping the tip of your soldering iron will improve conductivity and will make soldering easier. Here’s how you do it;
A. Turn on your soldering iron and heat it to 350°C or 655°F.
B. Simply add soldering tin to the tip of your soldering iron until a blob of tin is formed around it.
C. Remove the blob by rubbing the tip against the brass sponge.
D. Repeat this for about 10 times. Afterward, a thin and nearly invisible layer of solder will be formed over your soldering tip.

Not only will you be able to solder better, the thin solder layer will also protect your soldering iron from wear and tear.
Step 2: Start to solder
Place the PCB in front of you (solder side up) and open your manual. Then check out all different components and find out their polarity indication first.
The manual suggests to start off by soldering the resistors.
The following steps will help you to solder a basic SMD component such as a resistor, transistor, capacitor or an LED:
A. Search for the location pads in question on the soldering side of the PCB.
B. Pre-tin one side of that pad.
C. Take the matching component by using the tweezers (preferably use your most steady hand) and place it on the precise location. Note the orientation if necessary!
D. Hold the component in place with your tweezers and simultaneously heat up the pre-tinned pad with your soldering iron. Make sure your component fits in place and that the solder connects nicely with the component. Afterward, you shouldn’t be able to move the component.
E. First, check if the component is positioned correctly. Yes? Then solder the other side(s) of the pad by using your soldering iron and some tin.
F. If you’ve succeeded to solder the SMD component in the correct orientation and without accidentally connecting both sides of the pad with soldering tin; proceed to solder the next component!


If you have made a booboo, check out the following part!
1. Use a damp sponge or gold plated curls to clean the tip of your soldering iron. This is usually included with your soldering iron.
2. Make sure to clean the tip of your soldering iron frequently or at least each time there are soldering remnants.
HOW TO UNDO A SOLDERING MISTAKE!?
Here’s how;
A. Take out a few centimeters of your desoldering braid and place it against the soldering blob you wish to remove.
B. While keeping the braid in place with your tweezers, heat up the solder by using your soldering iron. Caution: the desoldering braid will get hot so try not to keep it in place with your bare fingers.
C. The braid should now absorb the solder visibly.Afterwards, the solder should be gone and you’ll be able to remove the component.

Finish the SMD FLASHING HEART by soldering the battery holder, this shouldn’t be a problem since it’s a through hole component.